4 Superhero Party Cereal Box Costume Crafts
I’m SUPER excited to share the newest party I worked on. The theme is superheros! What little boy or girl wouldn’t love a superhero party? They are just so much fun!!
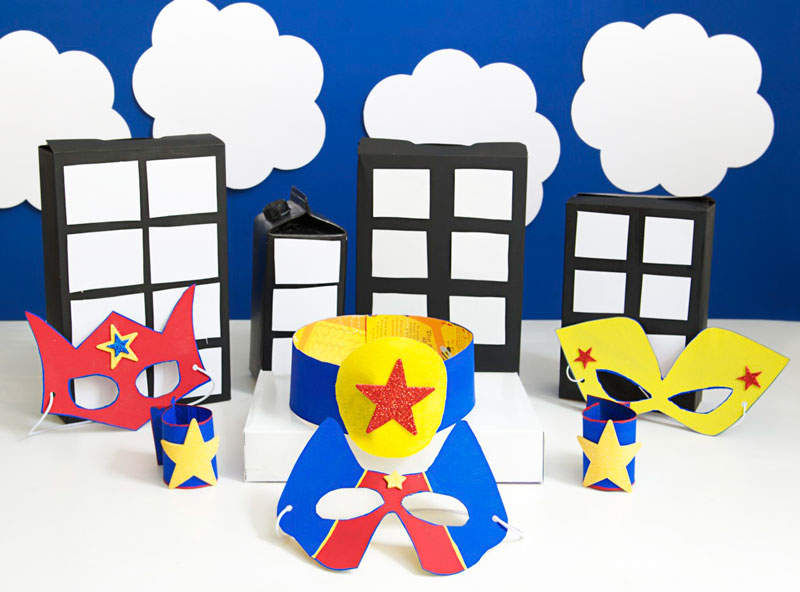
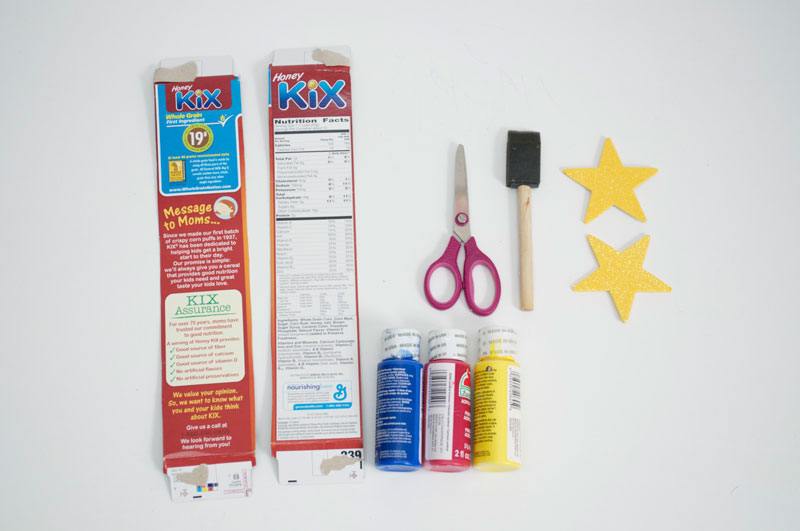
With this party, I wanted to share how YOUR KIDS can make a superhero costume using only ONE Kix cereal box. Here’s what we’ll be creating!
Now lets get our creative powers flowing and make some SUPER crafts!
Cereal Box Superhero Mask
Materials
- Superhero mask printables
- Empty cereal box
- Paint
- Pen/or pencil
- Paint brush
- Scissors (parents be sure to help little ones)
- X-Acto knife (parents use only)
- Star stickers
- Hole punch
- Elastic string
Getting Started
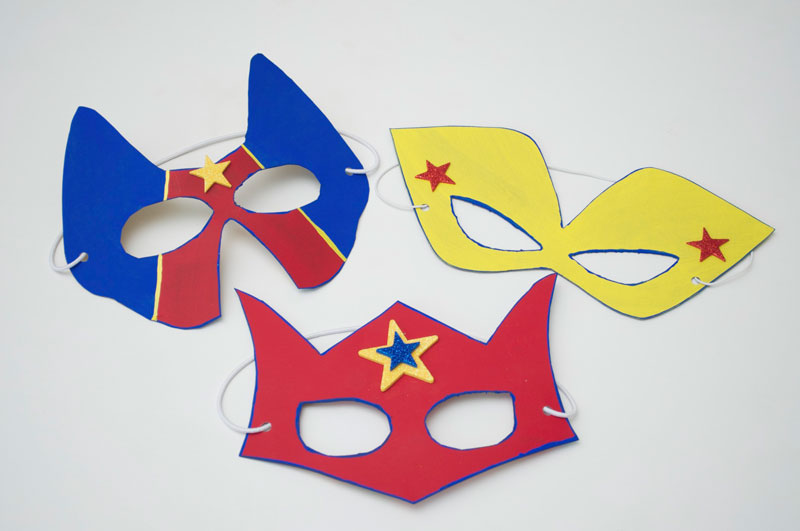
Of course our little superheros have to hide their true identity with a mask. I made 3 printable mask templates for you to TRACE out your masks.

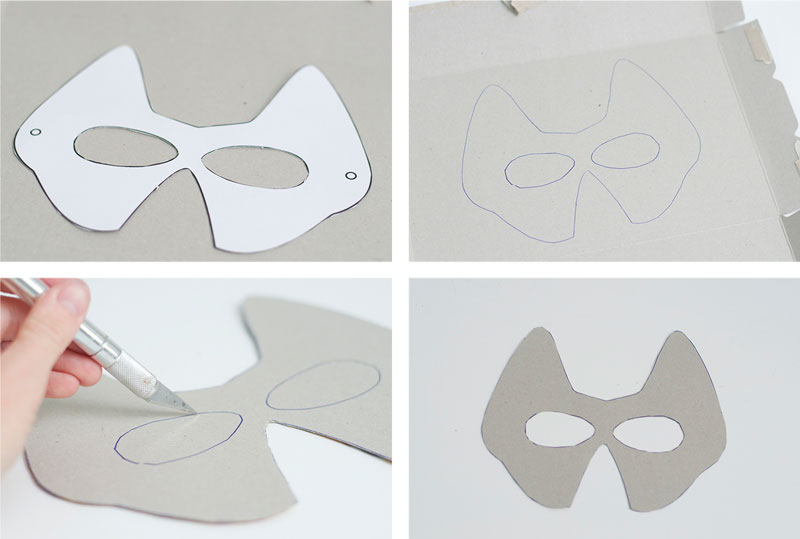
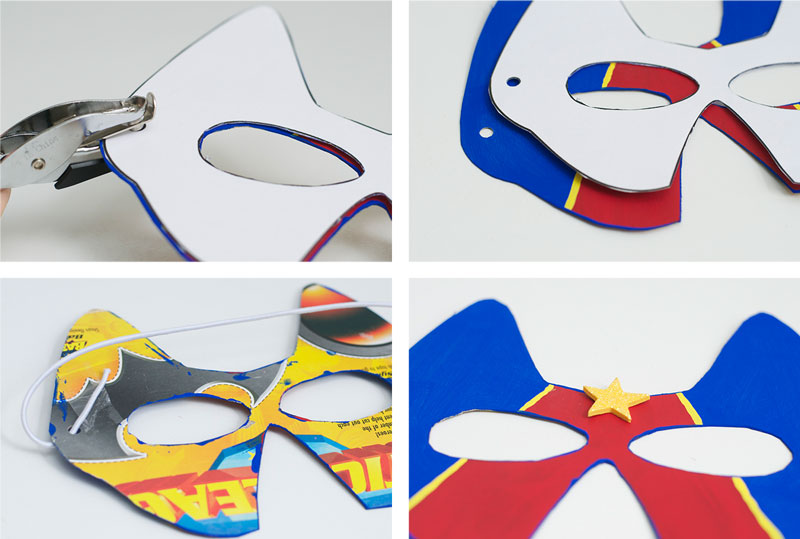
Step 1 – Trace and Cut Out Your Mask
Parents — Print and cut out your mask template. I used an X-Acto knife for the eyes.
Trace your mask on the FRONT of the cereal box and cutout. Now you have a nice and sturdy mask! Gotta’ love the cardboard from cereal boxes!
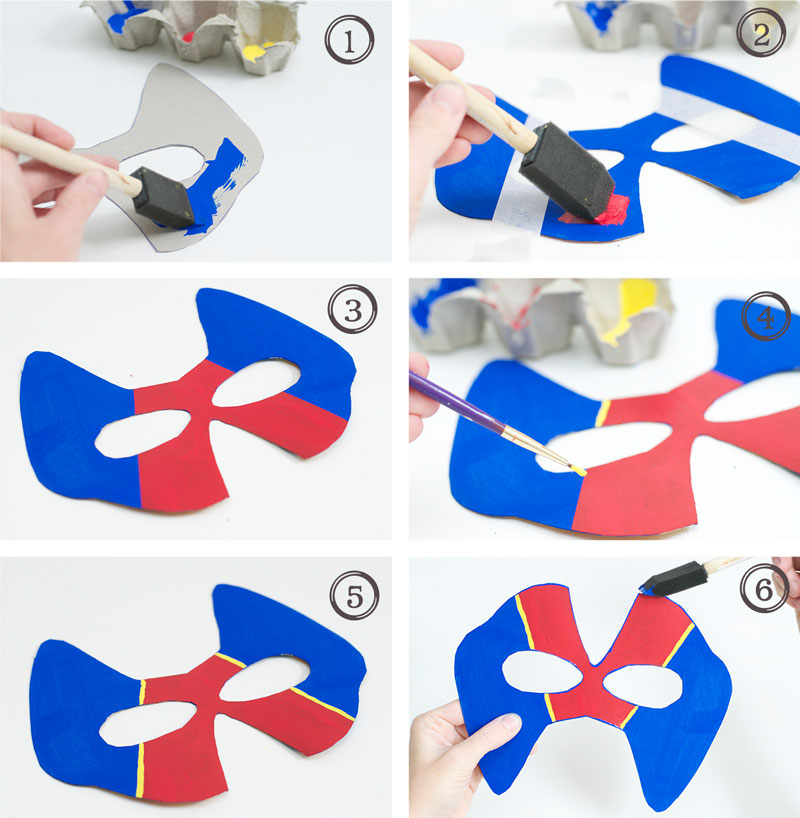
Step 2 – Paint Your Mask
Have your little ones paint their superhero masks.
I added some tape to the FRONT of my mask to help keep nice and clean lines. I let paint dry for 20 minutes, then pulled the tape off and added some yellow detail.
Then, I went around the entire mask INCLUDING the eye holes with blue paint.
Step 3 – Add Your Elastic and Star
LINE UP your mask with the printable and punch your holes for the elastic band. Make sure to measure out the size you need BEFORE cutting the elastic.
Secure into place with tape OR tie in a knot. We finished off our mask with a star sticker.
Finished Superhero Mask
Cereal Box Superhero Cuffs
Materials
- Cereal box sides
- Paint
- Star stickers
- Paint brush
- Scissors
Getting Started
NOW it’s time to make our superhero cuffs with the sides of the cereal box. This is another superhero MUST have!
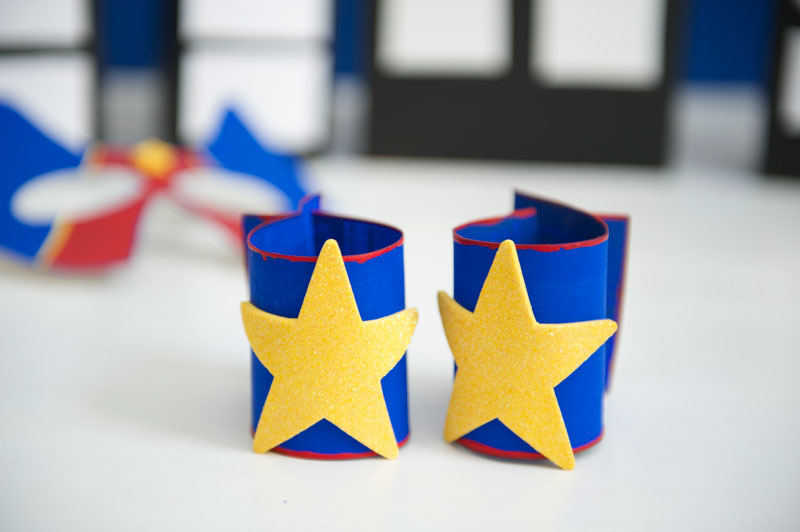
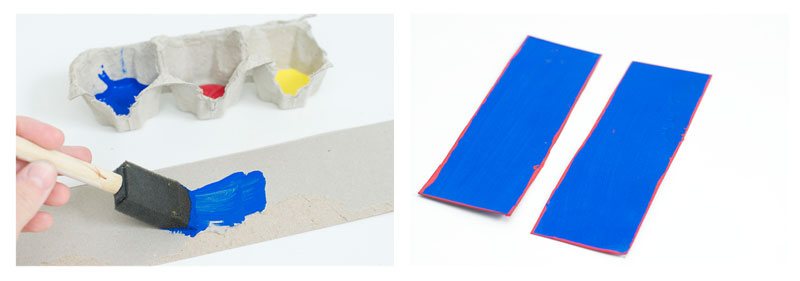
Step 1 – Cut and Paint Cuffs
Cut your sides (to the size you NEED for the kids wrists). Then, paint two layers on the front and back of the strips. Let dry 20 minutes.
Once your main color has dried, then add a little decorative touch of paint around the EDGE of the cuffs.
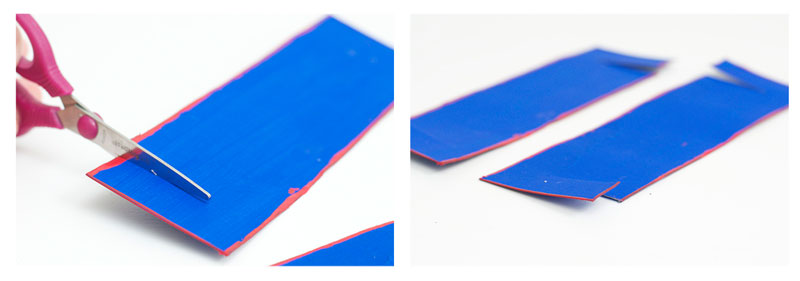
Step 2 – Cut Your Slits
Cut a slit (half the width of the cuff) on both ends of the cuffs in OPPOSITE directions. This will be how the cuffs stay on their wrists.
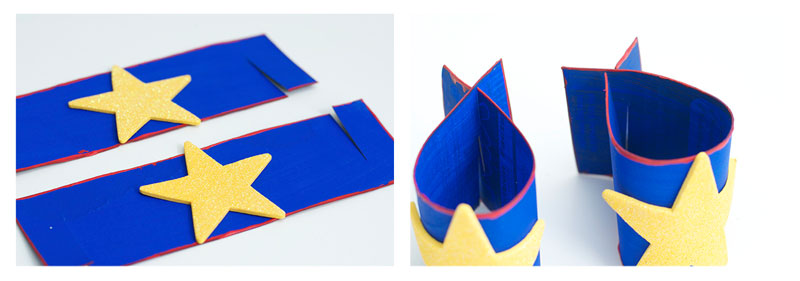
Step 3 – Add Your Decorative Star
To finish off your cuffs, add a LARGE decorative star and voila your all done!! Super simple.
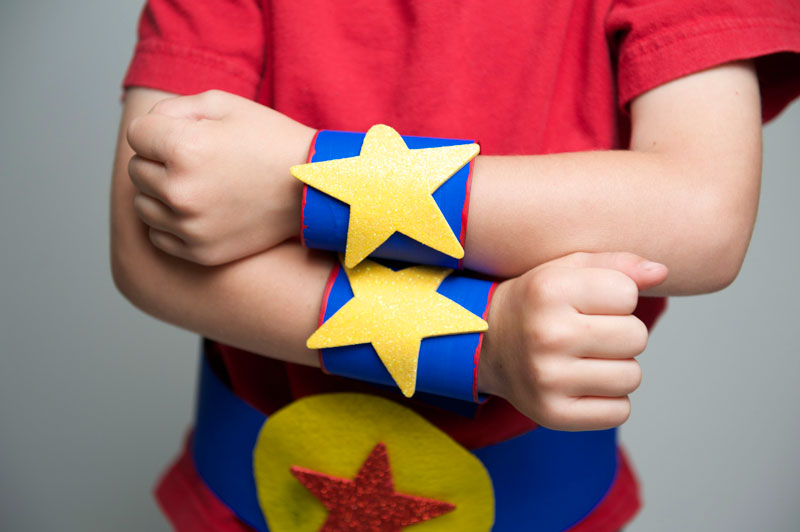
Finished Super Cuffs
Cereal Box Super Belt
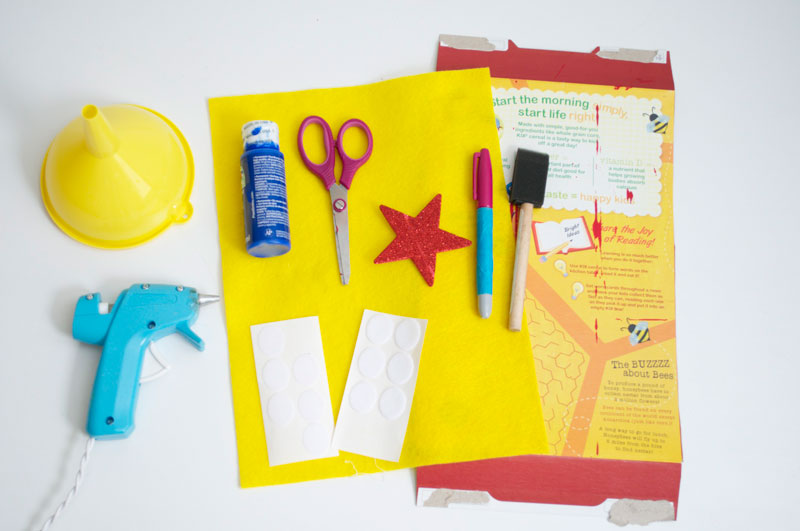
Materials
- Back of cereal box
- Felt
- Paint
- Adhesive Velcro
- Star sticker
- Paint brush
- Marker
- Scissors
Getting Started
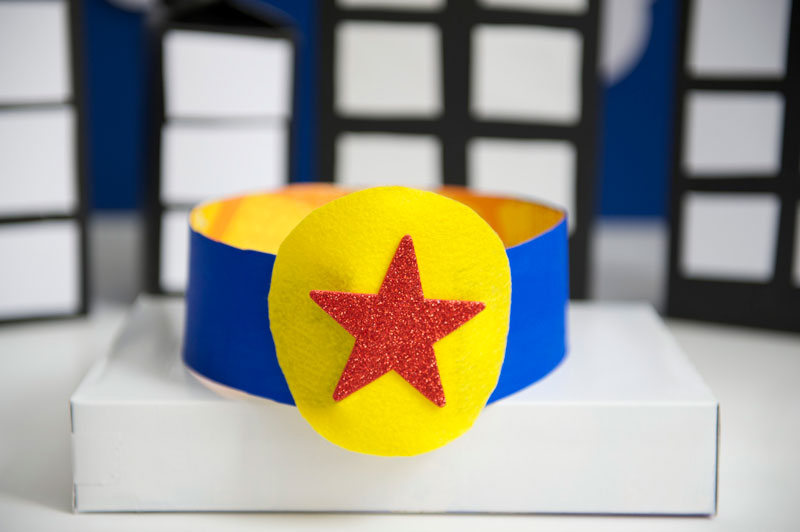
Lastly (but NOT least-ly), we have to finish the superhero look with a SUPER belt using the other side of the cereal box!
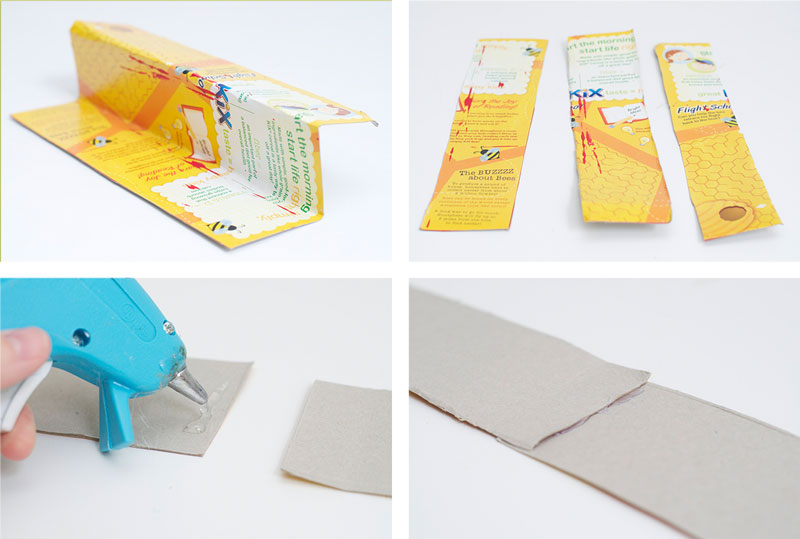
Step 1 – Cut and Put your Belt Together
Cut off any EXCESS pieces at the top and bottom of the cereal box.
Then, bend the cereal box so you will have THREE long strips and cut them out. For my son, I only needed two strips. Make sure to measure out how many YOUR CHILD will need.
To secure the superhero belt, hot glue your pieces together.
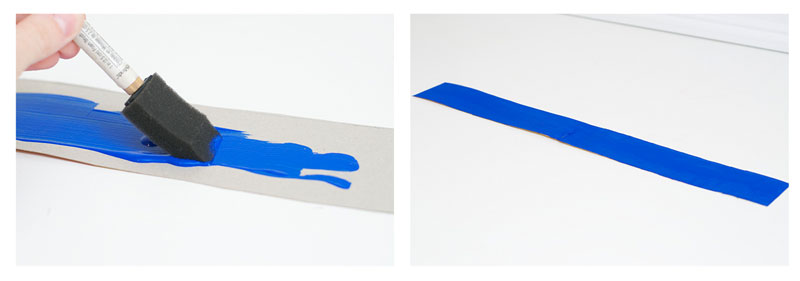
Step 2 – Paint Your Belt
Have your little ones paint two layers on the OUTSIDE of the belt. Let dry 30 minutes.
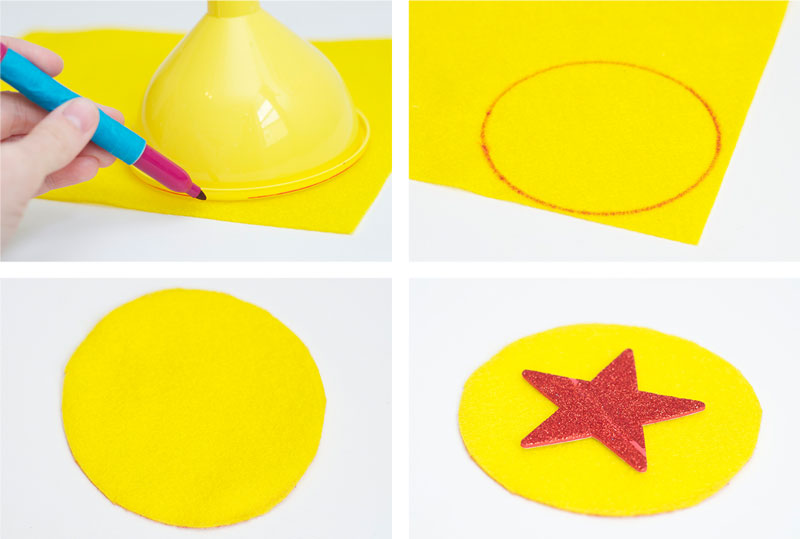
Step 3 – Trace and Cut Out Buckle
Find a LARGE circle shape, trace it on your felt and cut out. Then, add your decorative star sticker.
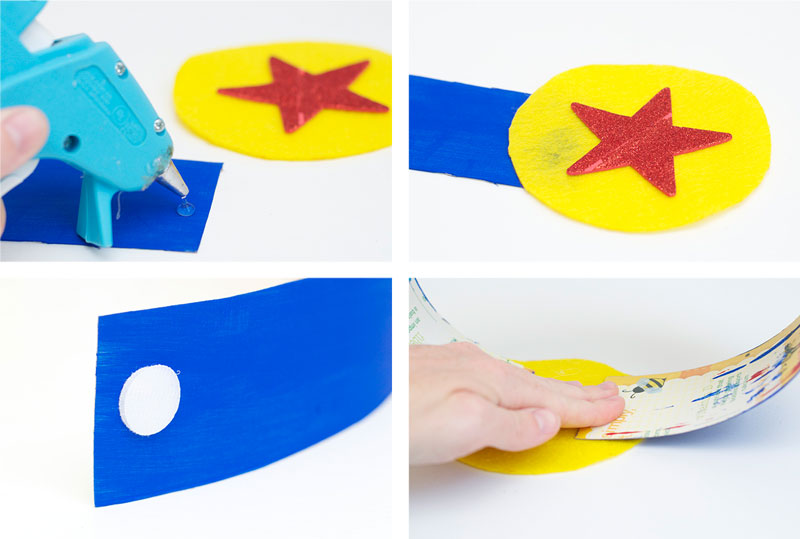
Step 4 – Add Your Buckle and Velcro
Parents, add a little hot glue to one END of your belt and firmly press down your buckle.
On the other end of your belt, add your adhesive Velcro and FIRMLY press down on the buckle to make a perfect superhero belt!
Finished Superhero Belt

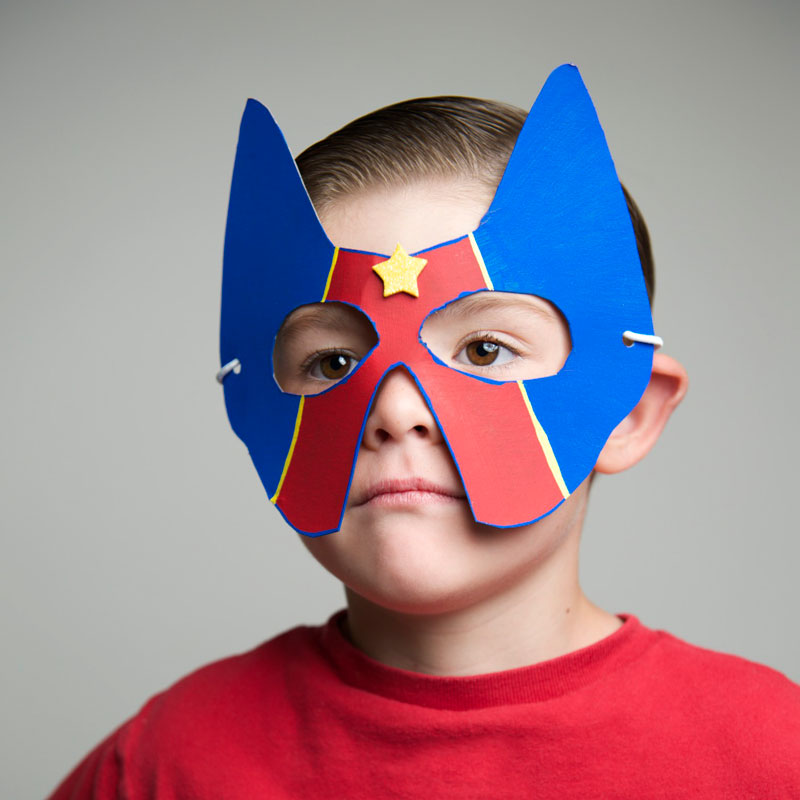
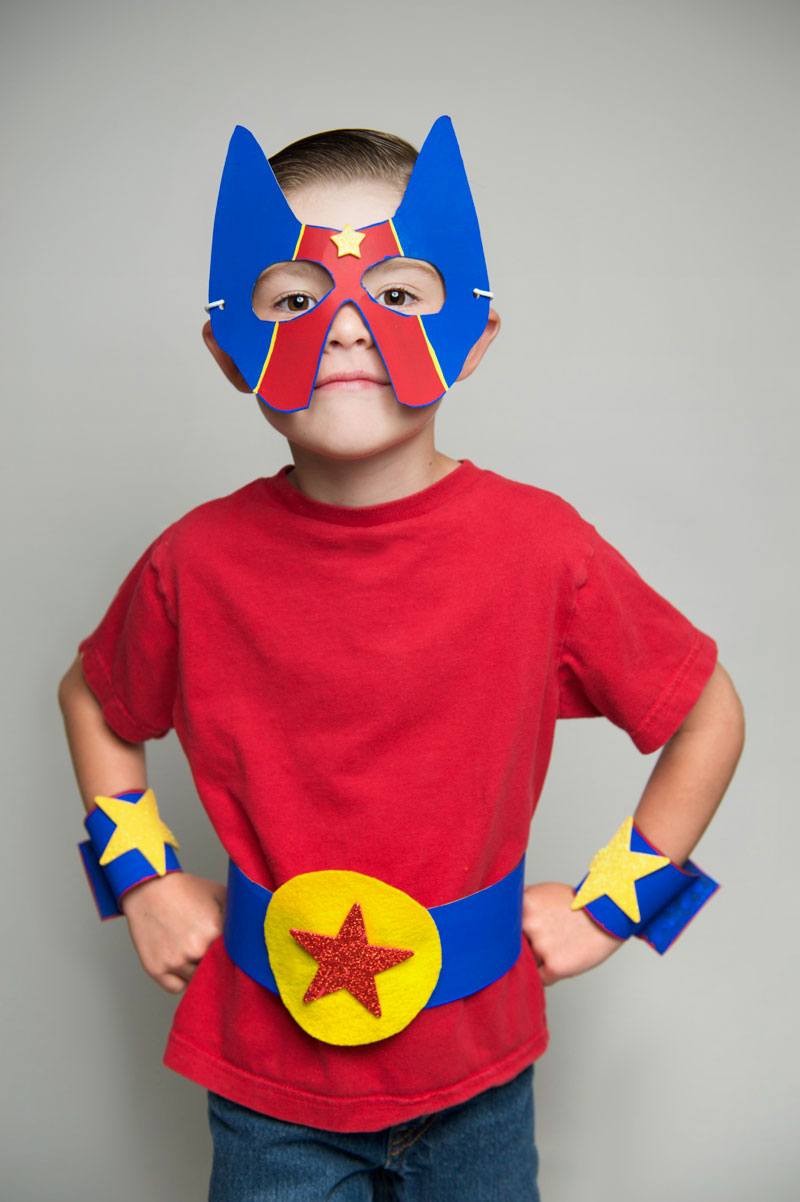
Full Superhero Costume
Now it’s time for the fun part…putting our superhero costume together! So without further ado, here’s SUPER KID!
Cereal Box Skyscrapers
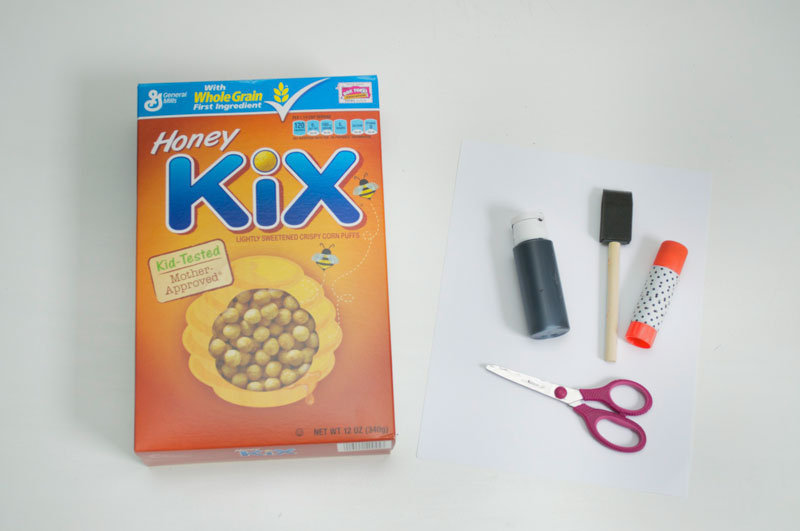
Materials
- Cereal box
- White cardstock
- Black paint
- Glue stick
- Paint brush
- Scissors
Getting Started
I really wanted to make a superhero city using a cereal box as well. I decided to add a couple other boxes/containers for DIFFERENT sized buildings.
I did something SIMILAR with diaper boxes for my oldest son’s 4th superhero birthday party. I thought the cereal boxes skyscrapers would be great for kids the to use with their action figures.
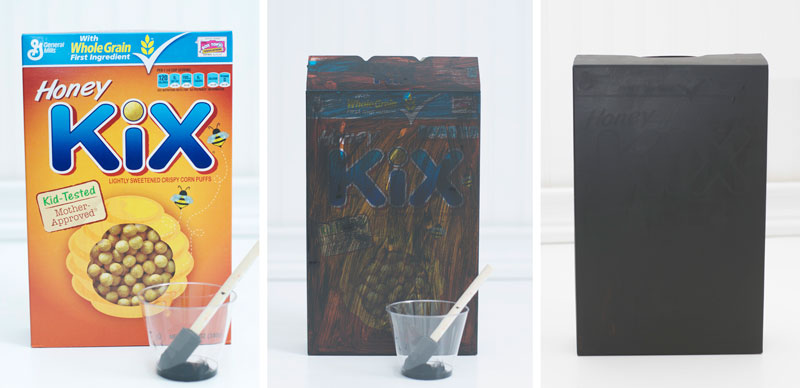
Step 1 – Paint Cereal Box
Paint on two coats of black paint. Let the first coat dry 20 minutes BEFORE adding the second.
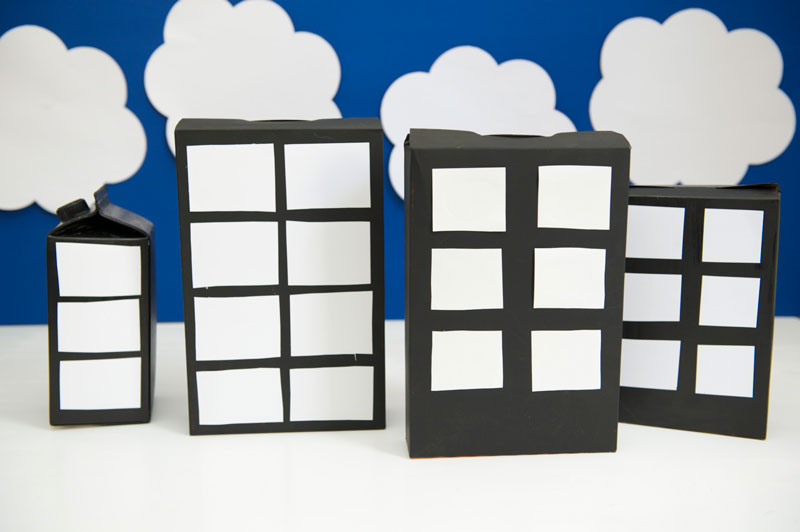
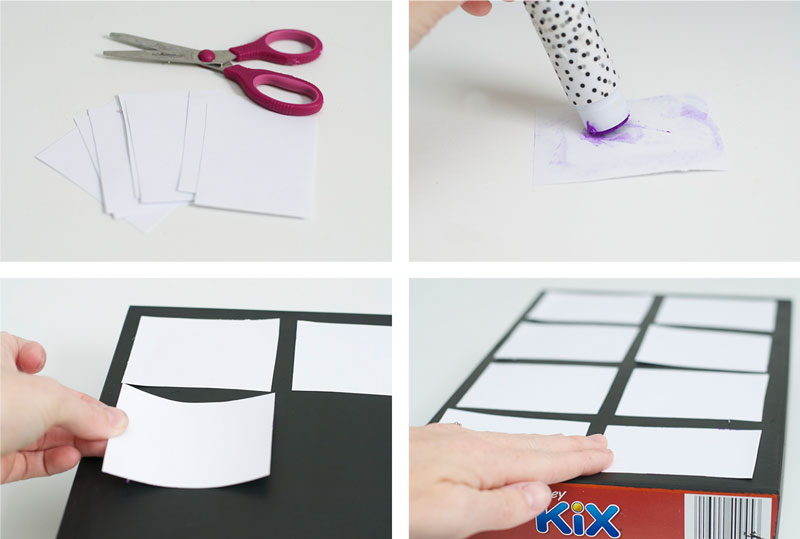
Step 2 – Cut and Add Windows
While your cereal box is drying, cut out RECTANGLES in your white cardstock to create your windows.
Add a little glue to the backs of your windows and firmly press them onto your box. Such an easy craft for kids to make on their own!
Finished Super City
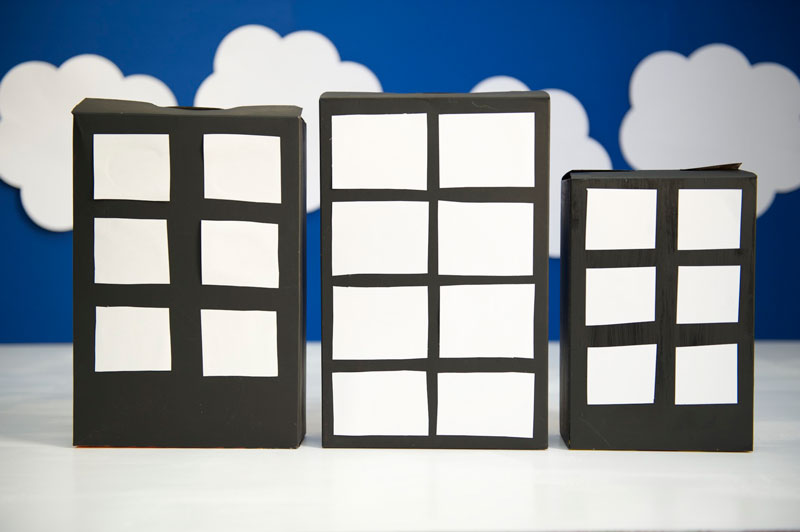
See how EASY that was! I would have made a cape from a cereal box, if I COULD! Maybe that’s a project for next time.
I really hope you found some SUPER inspiration for your little superheros in training!
Until next time…


