Make an LED-Light Postcard!
Your kid will love making this LED-light postcard with you because they get the chance to add a super-bright spot to their artwork—and you’ll be sneaking in a little learning time about how an electronic circuit works!
To make an LED postcard:
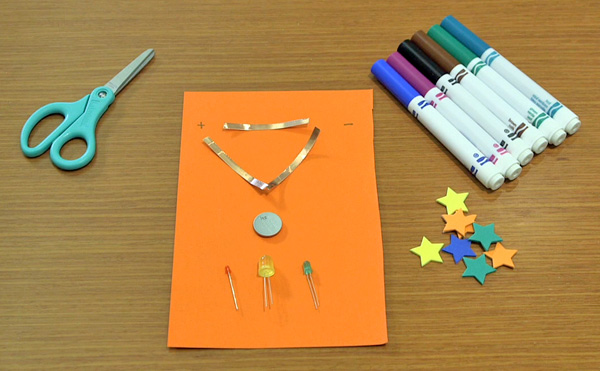
You will need:
Craft supplies (Construction paper cut into your desired size, markers, scissors, glue, whatever you want to decorate your postcard)
Little LED lights (You can find them in all sorts of shapes and sizes, here and here and here.)
Copper tape (This can be a little trickier to find, but here’s one resource.)
A 12mm coin cell battery* (A couple of sources for this are here and here.)
*If there are younger children in the house while you’re doing this project, be sure to keep the coin cell battery out of sight and out of reach of small children, and store loose or extra batteries safely locked away.
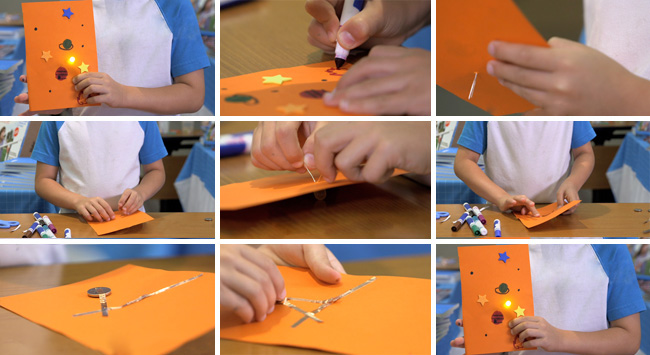
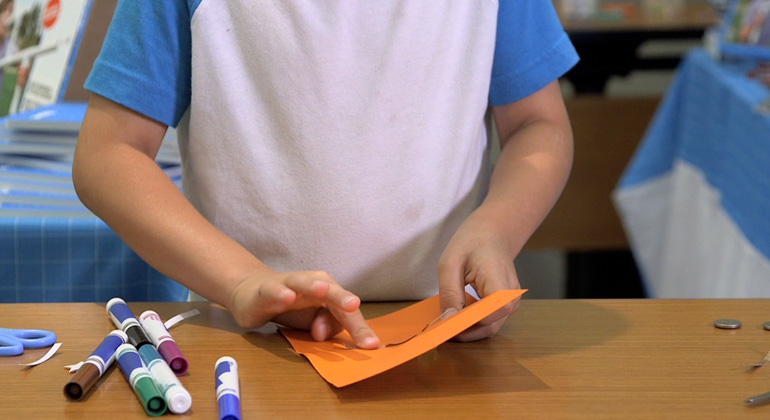
1. First, have your child decorate the postcard. Keep in mind that you’re going to be adding a light (or two or three), so think about where that will make the coolest effect.

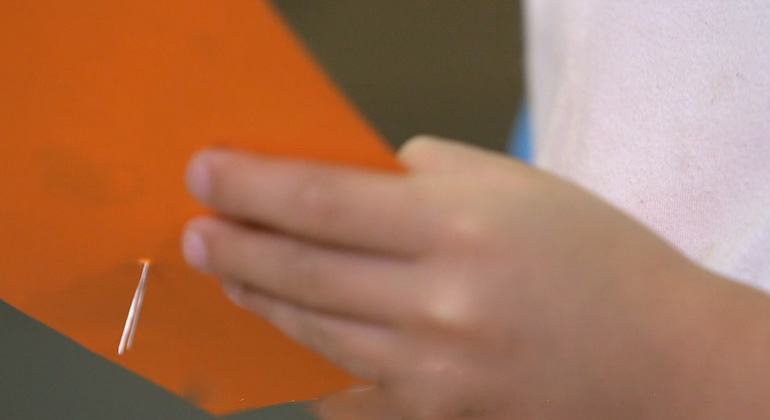
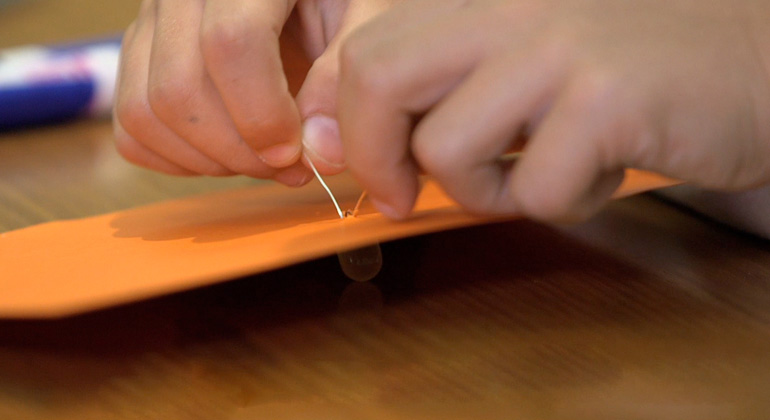
2. Place the LED light. Poke a hole through the postcard where your child would like to add your light, and insert the wires attached to the LED through the hole. Point out to your kid that one wire is longer than the other: The longer wire is the positive leg, while the shorter wire is the negative leg. This will be important when it comes time to attach the light to the battery.
3. Fold the wires flat. You’ll be securing them to your postcard as well as to the battery, so make sure the wires are nice and flush against the paper.

4. Note which side is the longer wire. You can even suggest to your kid to make a little mark on the paper next to the longer wire.
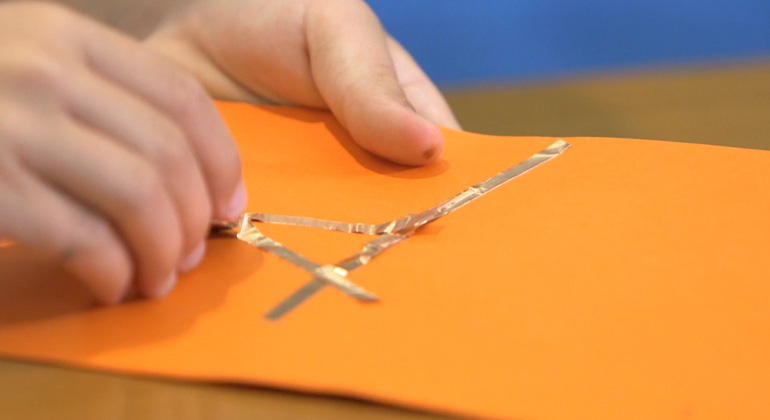
5. Tape down the wires using a strip of the copper tape. Make sure your child presses the tape down hard on the LED wires. A good metal-to-metal connection is essential to completing the LED-light electronic circuit.
6. Connect the long wire to the flat side of the battery. Remember that longer LED wire? Connect the end of the first copper tape to the flat side of the battery with another piece of tape, connecting the positive wire to the positive side of the battery.
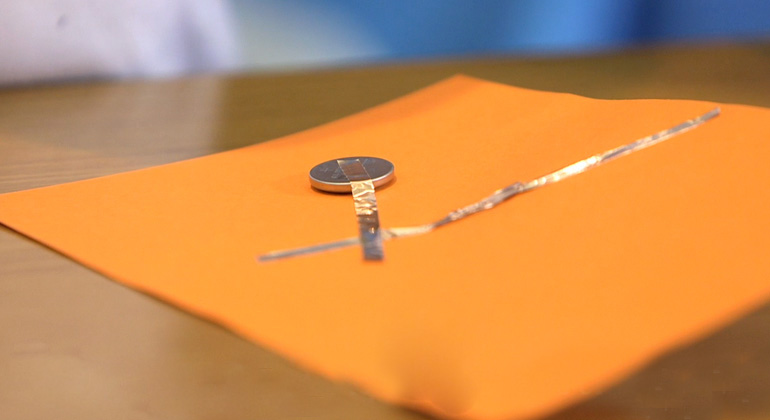
7. Complete the circuit! Connect the short wire to the raised side of the battery with another piece of copper tape, connecting the negative wire to the negative side of the battery.
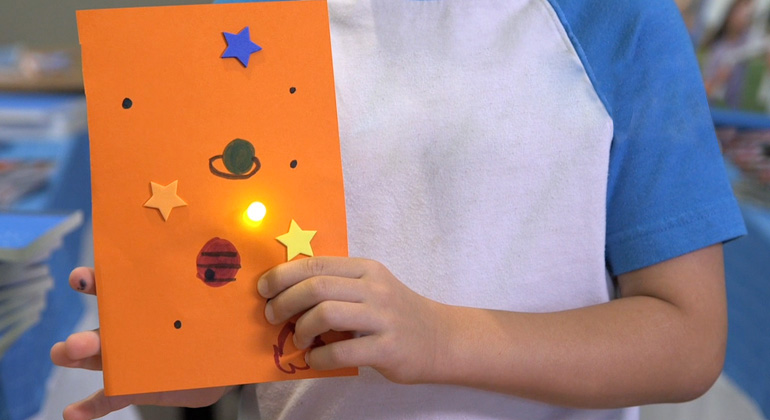
When the tape is connected to both side of the battery, the LED lights up!
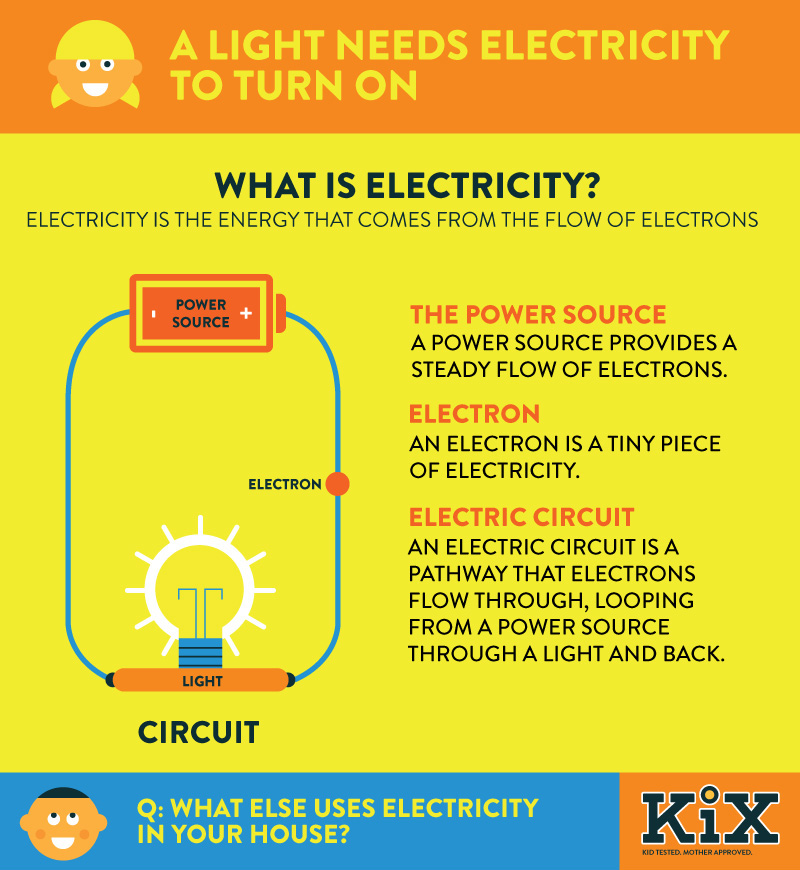
If the LED doesn’t light up, double-check that all wires are connected and that the tape is making as much contact as possible with the LED-light wires and the battery. Sometimes, if your strips of copper tape are long, it can help to shorten the length of each tape. Have fun making one after another, and experiment with multiple LEDs and batteries! Be sure to download our PDF to help teach your child how electrical circuits work!