Painting with Ice Cubes
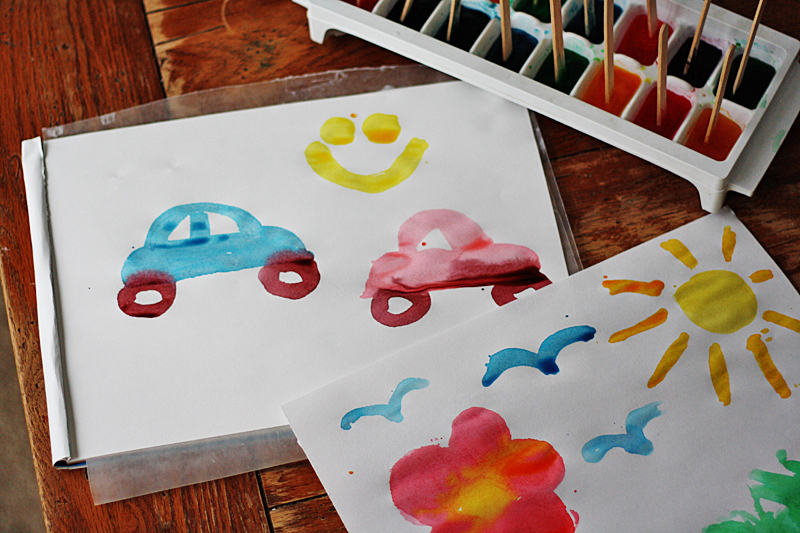
Here’s a fun project to do on a wintery or rainy day. Keep a tray of these in the freezer for those “I’m bored!” moments. Great for impromptu crafting or art time and kids love it!
To paint pictures with ice cubes you will need:
Ice cube tray
Food coloring
Water
Craft sticks
Aluminum foil or plastic wrap
Paper
Wax paper (optional)
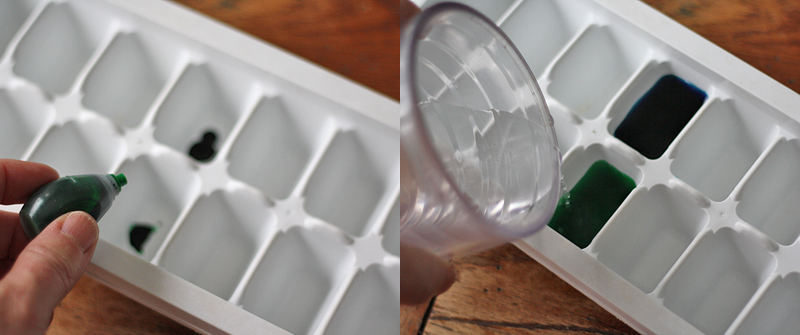
Add drops of food coloring to the cups of your ice cube tray. For lighter colors, use only one drop and for darker shades use more drops.Have kids mix colors like blue and red to make purple, and red and yellow to make orange. Anywhere from 1-8 drops is plenty for each cup. Add water to each cup, but don’t fill them all the way to the top or there’s a chance they’ll spill over into each other.
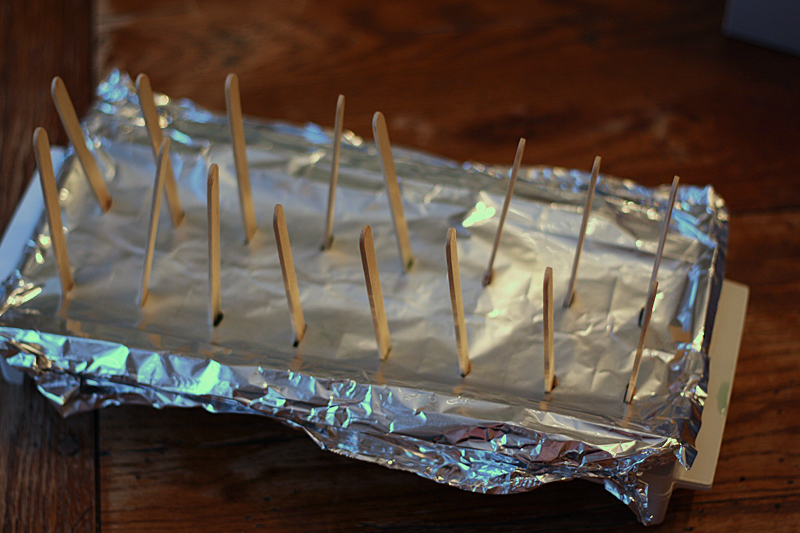
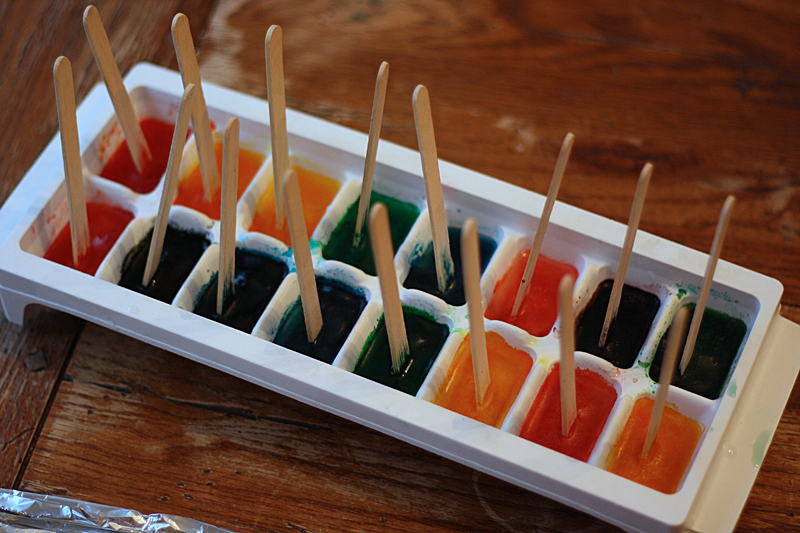
Cover the ice cube tray with a sheet of foil, or you can use plastic wrap if you prefer. I find that foil is easier to control and while you can’t see through it, it does stay in place better. Parents should use the tip of a knife to carefully poke holes in the foil over each ice cup. Insert craft sticks into the holes in the foil and freeze.
Remove from the freezer and carefully remove the foil. Allow the ice cube tray to sit and warm up for a few minutes. Meanwhile, line your table with a plastic tablecloth or newspapers.
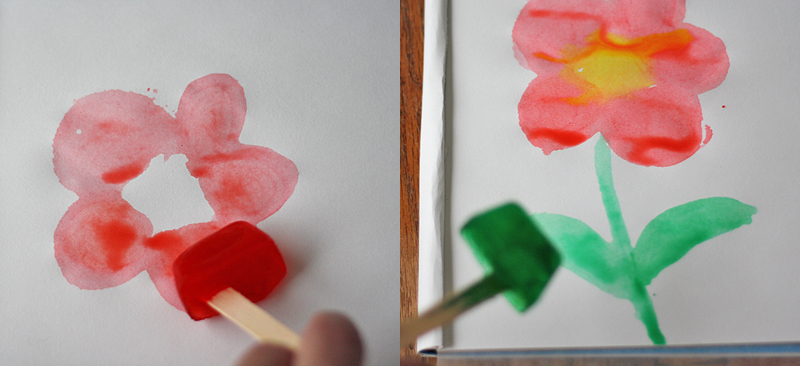
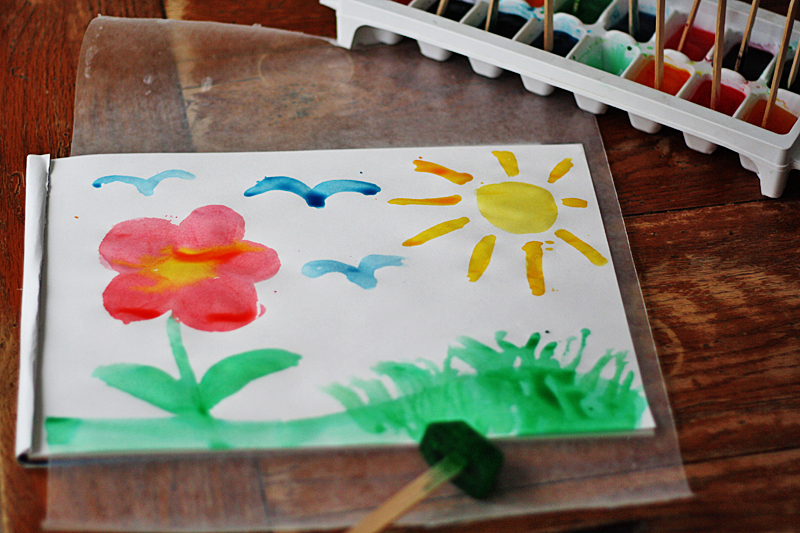
Children can draw whatever they like using the slowly melting ice cubes.
Hint: If you are using a pad of paper, you can insert a sheet of waxed paper underneath the sheet of paper that your child is painting on. This will prevent any seepage to the next page.
Have fun!
Project created by Amanda Formaro for Kix Cereal. Amanda is a well-known craft expert and has been writing and crafting on the Internet for over fifteen years. Find out more on her blog, Crafts by Amanda, where she shares tutorials with step-by-step photos for adults and kids alike.
