Paper Plate Kite
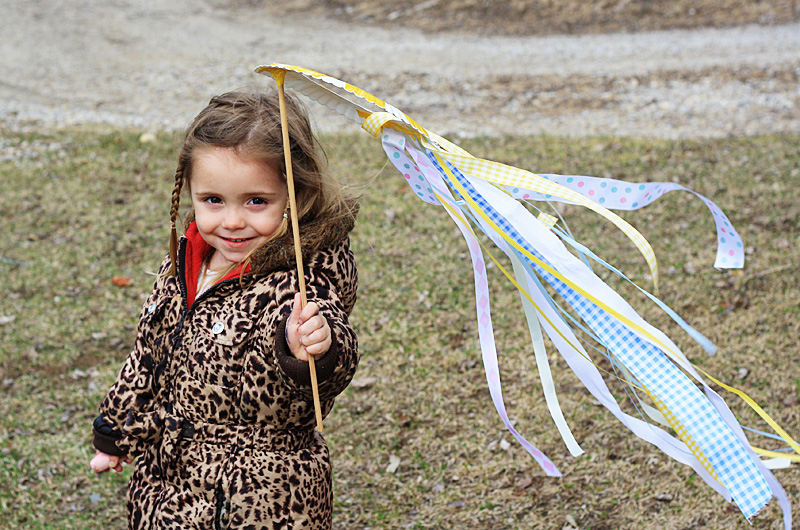
Temperatures are climbing upward and kids are finally able to spend more time outdoors. Kite flying is perfect for outdoor play as it’s often quite breezy as the weather patterns are changing from season to season. But what about the younger set who really aren’t old enough to fly a kite of their own just yet? Simple! Make a hand held kite from a paper plate that can be enjoyed outdoors, or even indoors on a rainy day!
You will need:
Paper plate
Ribbon in various colors, width and lengths
Duct tape
16-inch dowel
Tools: scissors
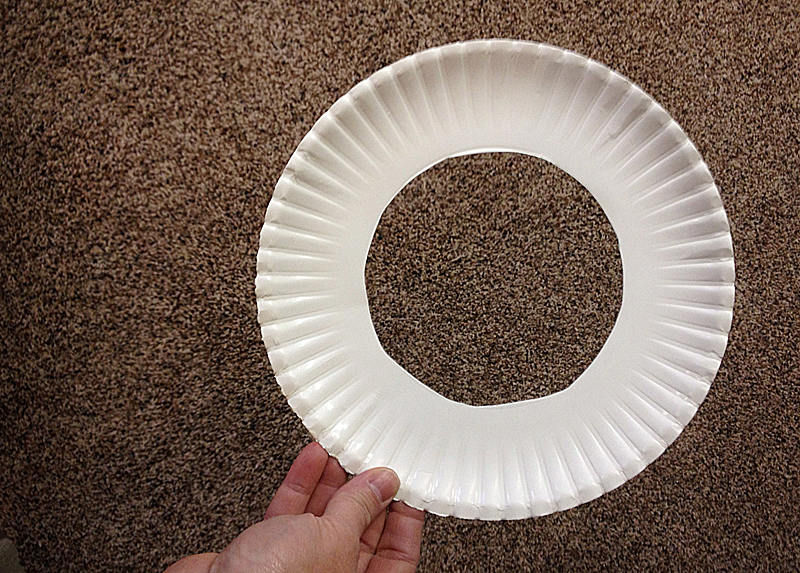
Cut the center out of the paper plate.
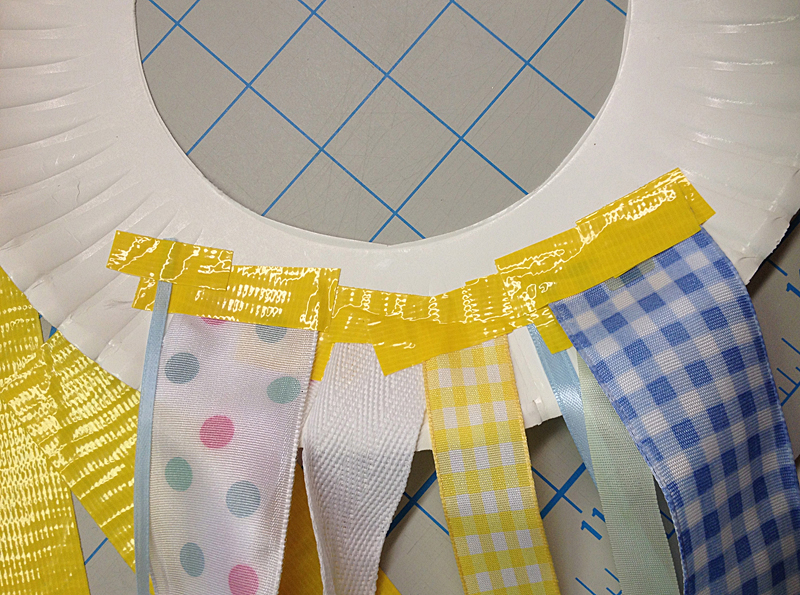
Use duct tape to attach ribbon to one end of the paper plate.
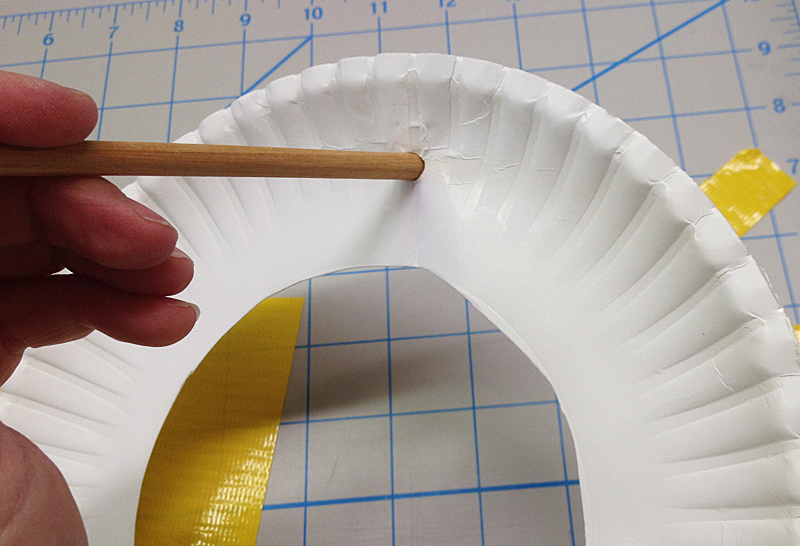
Make a hole at the opposite end of the plate from where you attached the ribbon. Insert the dowel into the hole.
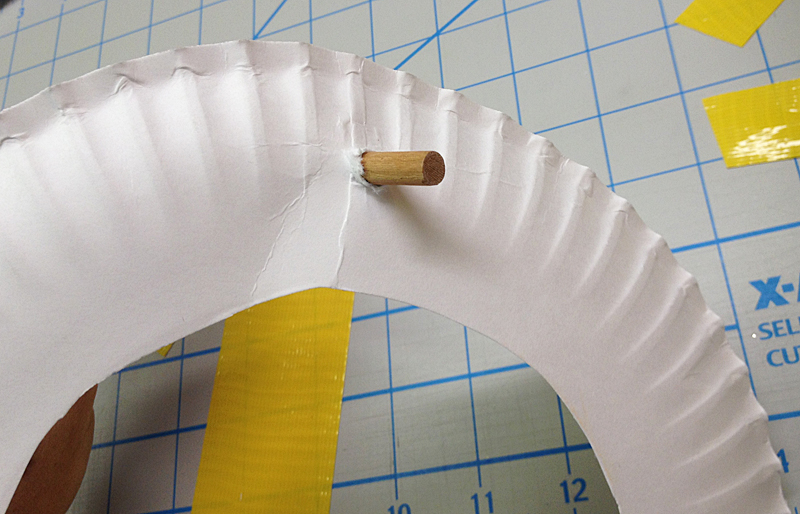
You want the dowel to come out the other side, but you don’t want it to remain sticking out.
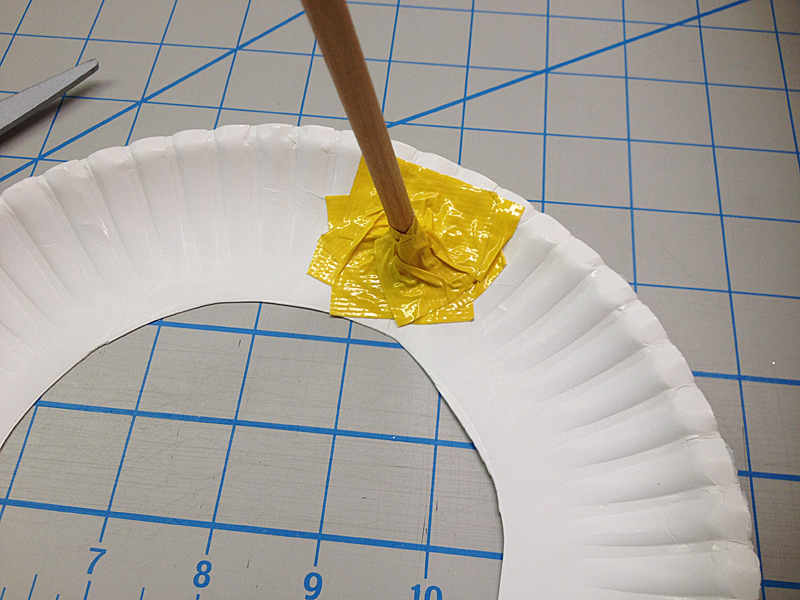
Use duct tape to secure the dowel to the plate.
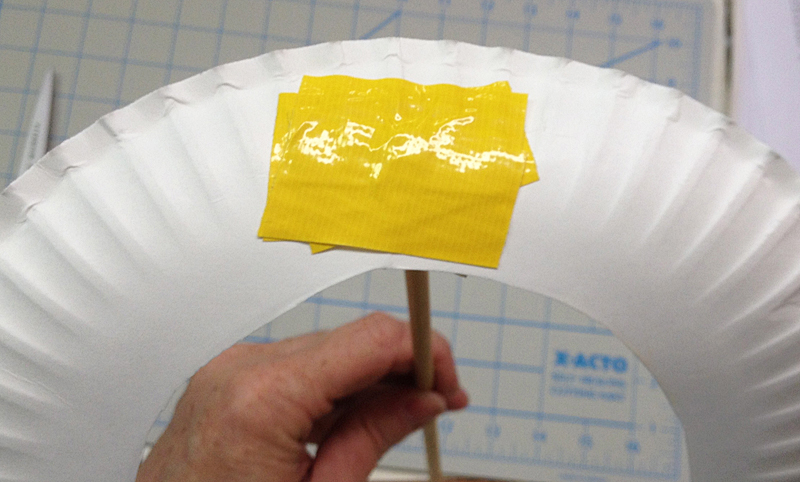
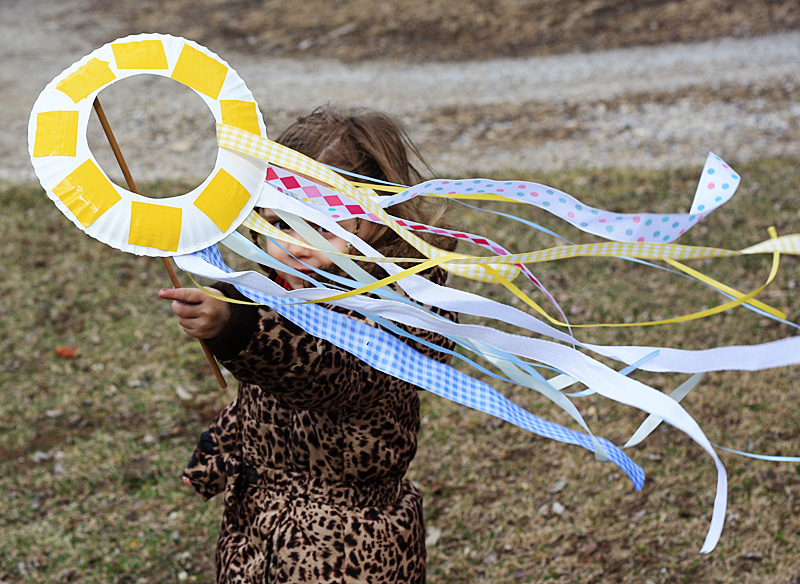
Use a generous amount of tape on both the back and front sides. To make the tape look like a decoration, you can add more squares of tape going around the top of the plate.
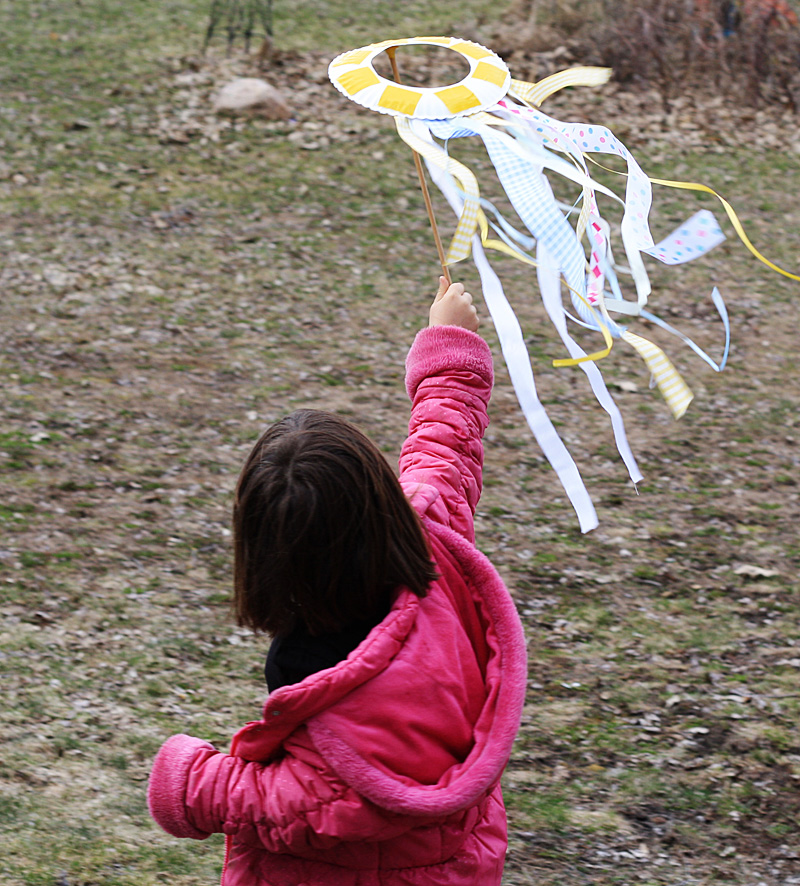
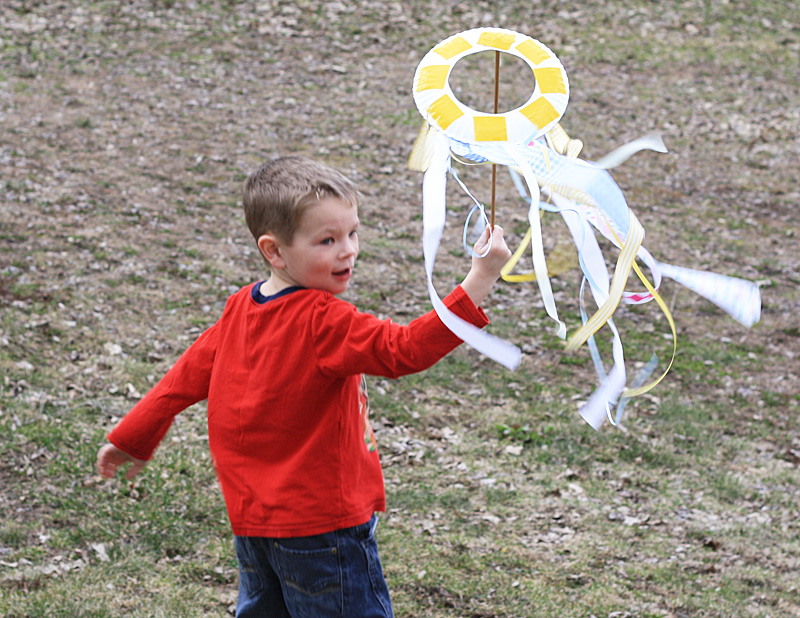
You are now ready to hold your dowel as your handle and run with your kite, giving it flight! The ribbons will flow behind the kite as you run.
I was inspired to make this craft after seeing Kiwi Crate’s paper plate kite.
Project created by Amanda Formaro for Kix Cereal. Amanda is a well-known craft expert and has been writing and crafting on the Internet for over fifteen years. Find out more on her blog, Crafts by Amanda, where she shares tutorials with step-by-step photos for adults and kids alike.