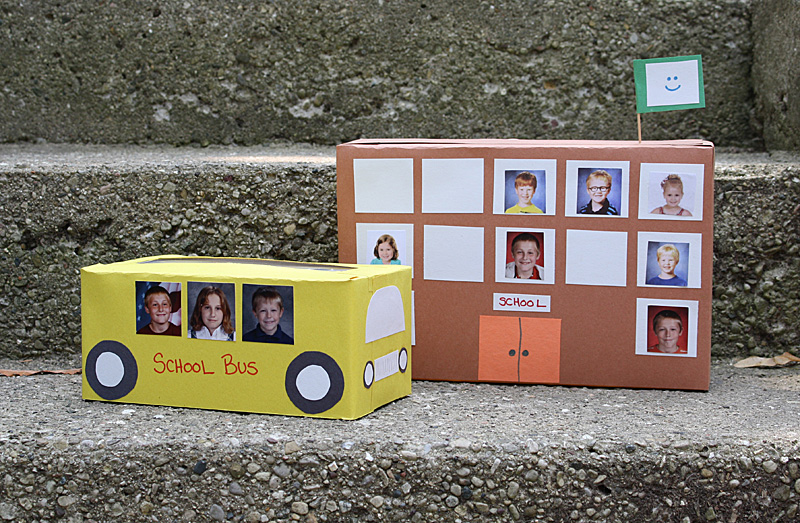
Tissue Box School Bus and Cereal Box School
It’s that time again. Time for kids to head back to the classroom after a long summer break. This is a fun recycling project the kids can do at home with previous years leftover school pictures, or it makes a wonderful classroom project too!
If you’re a teacher, when the classroom picture arrives use the individual pictures to fill up the tissue box school bus, which can be used in the classroom, and the cereal box school. Great fun for the whole class!
For this back to school project you will need:
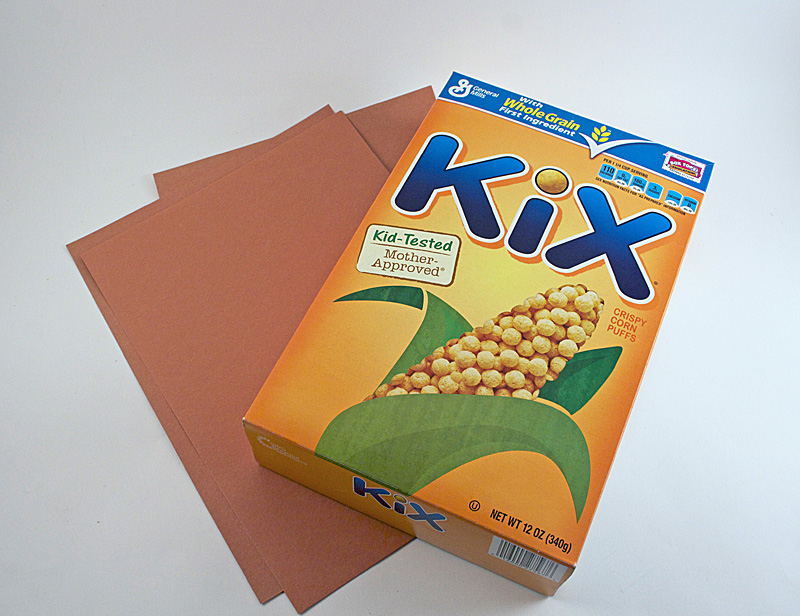
- Empty cereal box
- Rectangular box of tissues
- Construction paper: yellow, brown, green, orange, white and black
- School photos
- Toothpick
- Tools: age-appropriate scissors, glue stick, marker
For the school bus:
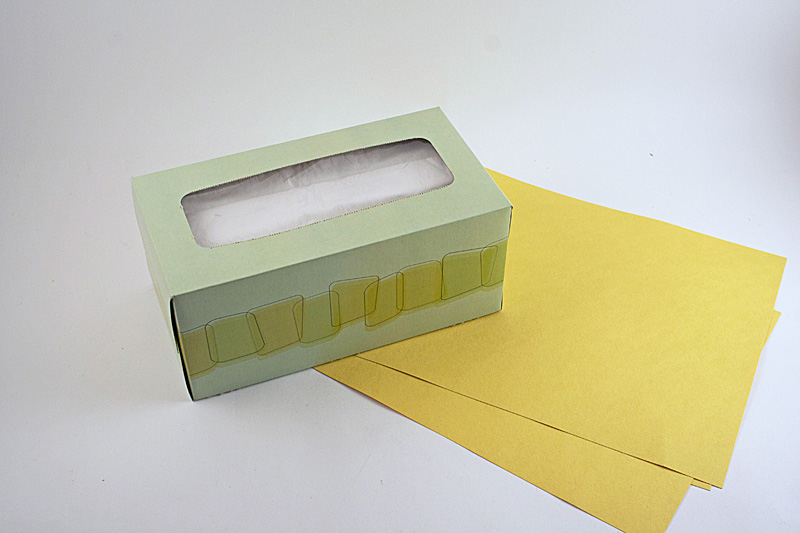
You can use an empty box of tissues if you like, but I used a new one. It’s a fun way to dress up a box of tissues to be used at home or in the classroom!
Use a glue stick to cover the tissue box with yellow construction paper.
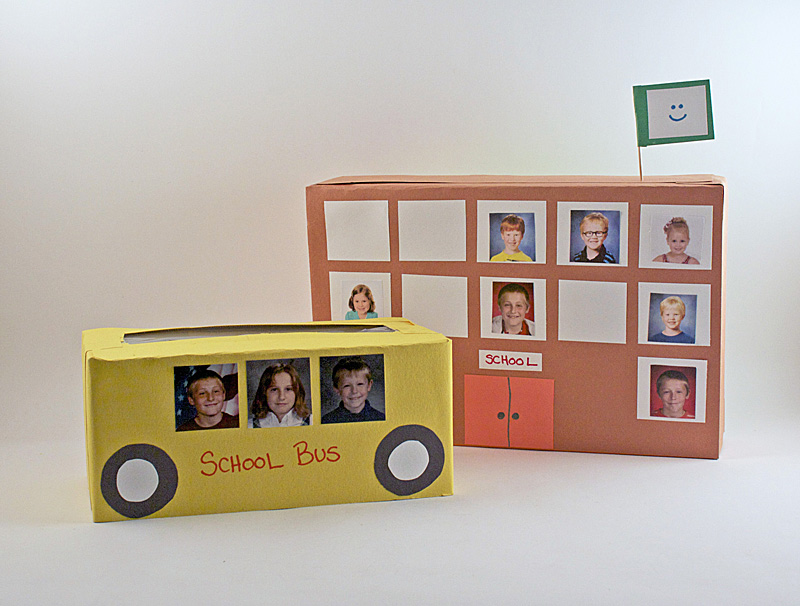
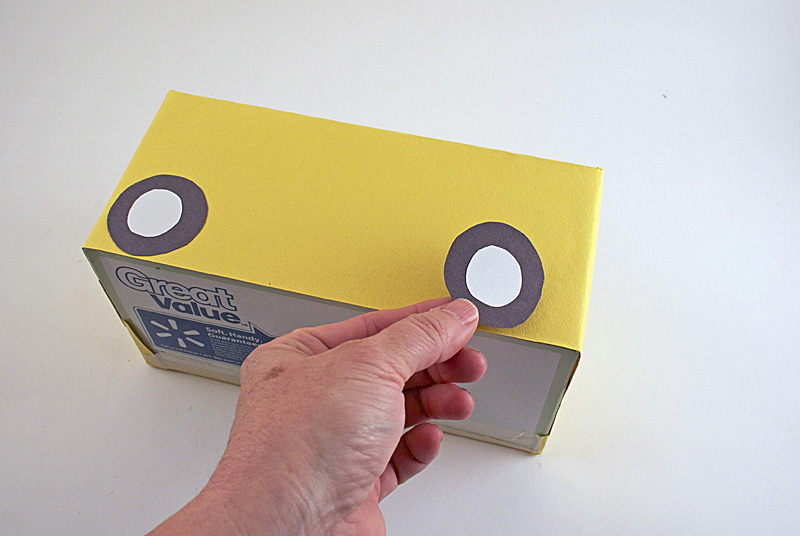
Cut simple circles from black paper to make the wheels. Cut smaller circles from white paper for hubcaps. Glue them to the side of the tissue box.
If you like, cut small circles for headlights and glue to the front of the box. You can also make a simple grill with a small rectangle of white paper, then draw lines with a pencil. Write “school bus” on the side and glue pictures of kids to the side of the box.
For the school building:
To help this school stand upright and keep it from toppling over, add a bag of dried beans or rice to the inside of the box before taping it shut.
Tape the top of the empty cereal box shut and cover it with brown construction paper.
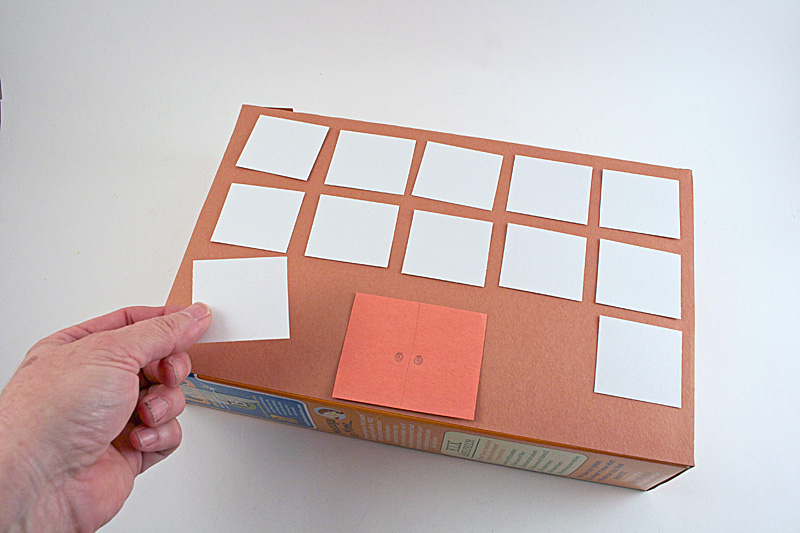
Cut squares from white paper for the windows and an orange rectangle for the door. Glue them all to the front of the box. Draw a line down the center of the door and add a couple of circles for doorknobs.
Cut school pictures to fit into the “windows” and glue them in place.
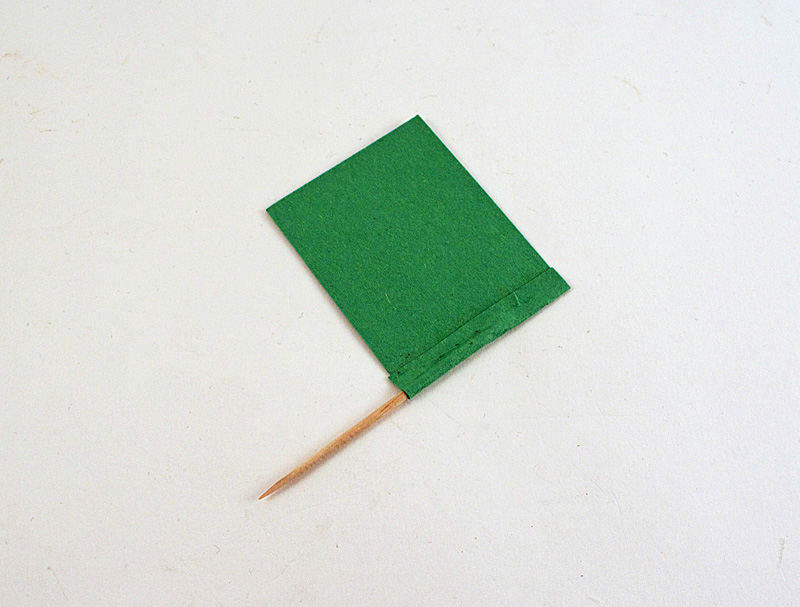
Make a flag to fly on top of the school. I used green and white, but you might want to choose your school’s colors! Cut a rectangle from green paper and wrap one end around a toothpick, gluing it in place. Cut a smaller rectangle from white and draw a smiley face onto it, then glue it to the green paper.
A grown up should carefully poke a small hole in the top of your school building using a craft knife. Poke the toothpick flag into the hole.
[Photo credit: Special thanks go to Heather Mann of Dollar Store Crafts, Maggy Woodley of Red Ted Art and Melodie Kernahan.]
Looking for more fun classroom ideas using a cereal box?
Try this water cycle diorama to help teach about why it rains! And when Valentine’s Day arrives, your kids will love making these Valentine Heart Letter Boxes too!
 Project created by Amanda Formaro for Kix Cereal. Amanda is a well-known craft expert and author of the books “Rubber Band Mania” and “Duct Tape Mania”, the first two in a series of craft books for kids. She has been writing and crafting on the Internet for over fifteen years. Find out more on her blog, Crafts by Amanda, where she shares tutorials with step-by-step photos for adults and kids alike. Project created by Amanda Formaro for Kix Cereal. Amanda is a well-known craft expert and author of the books “Rubber Band Mania” and “Duct Tape Mania”, the first two in a series of craft books for kids. She has been writing and crafting on the Internet for over fifteen years. Find out more on her blog, Crafts by Amanda, where she shares tutorials with step-by-step photos for adults and kids alike. |
